8th May 2018
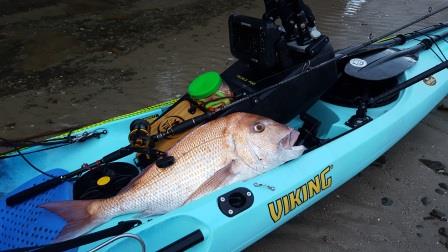
The Lowrance TotalScan transducer needs to be installed below the keel of your kayak to allow full side imaging capability on compatible instruments. With Viking Reload and GT kayaks this makes accommodating the extra length of the TotalScan transducer easy – it’s installed below the socket of the Tackle Pod and extends forward along the keel. This gives superb side imaging capability and makes adding and removing the Tackle Pod from the kayak easy.
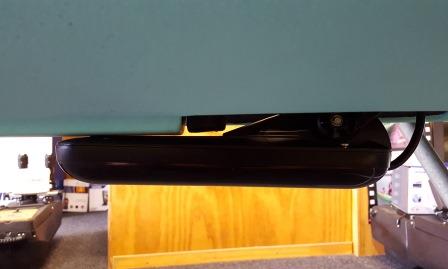
1. Begin by using the transom bracket supplied with the transducer to mark 4 mount holes on the angled face of the socket in the bottom of the Tackle Pod. Drill these holes using a 4.5mm bit.
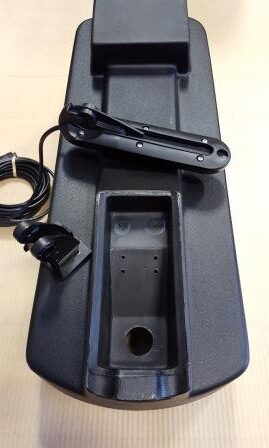
2. Install the transom bracket as pictured using M5 machine screws with large washers and nyloc nuts on the inside. The holes are deliberately undersize so the screws thread through the plastic for a water tight seal – do not over-tighten as this will strip the plastic threads. The transducer will be firmly supported once the washers and nuts are fitted from inside.
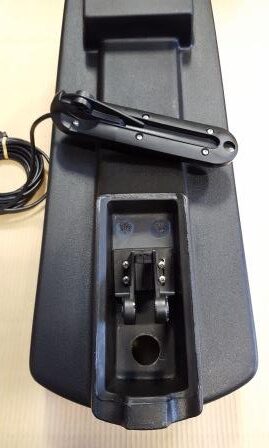
3. Route the cable through the scupper as normal, coiling the excess to fit inside the larger diameter upper section (carefully rolling the cable onto a 40mm OD tube makes this easy – don’t “wind” the cable as this will twist the internal wires). The transducer can now be installed onto the mount bracket and adjusted to rest along the keel of the kayak when the Tackle Pod is fitted.
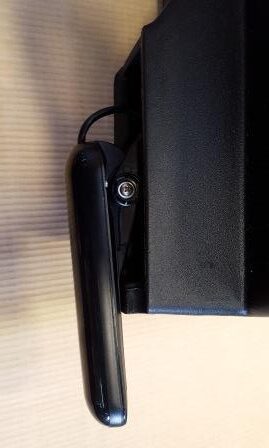
The final step is to go into the transducer setup menu in the Lowrance sounder and “flip” the transducer. This adjusts the left and right sides to correct for the transducer being mounted “backwards”.
Hints:
For best side imaging performance the TotalScan transducer must be mounted below the keel of any kayak. This allows the transducer to “see” both left and right without interference from the keel or hull. Further, below-surface performance is improved if the transducer is low enough to be below the lowest wake trough or wave generated by the kayak.
Unfortunately on most kayaks this exposes the transducer to grounding (hitting the bottom when launching or retrieving) and subsequent damage. A massive advantage of the Viking Tackle Pod system is that it can be lifted and rested at the front of the cockpit during shallow water transitions, completely eliminating the risk of damage.
TotalScan transducer mounted below the keel for best performance
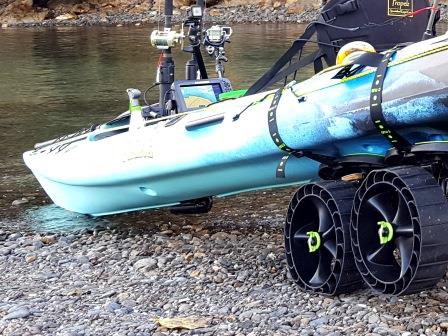
Tackle Pod lifted for shallow water transitions protects the TotalScan transducer from damage
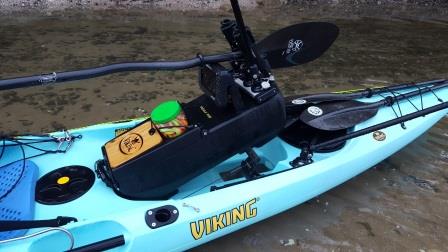
TotalScan side imaging can be invaluable in finding wary fish hidden in structure
